Satya's blog - models/swywing/
Last December I bought myself a
LEGO Star Wars Y-Wing model, kit number 10134.
It's one of the Ultimate Collector Series models,
which also includes the giant Death Star and the
Star Destroyer 10030
which is three feet long and which I want.
This one is pretty big, at least 20 inches long,
and the Y-Wing fighter-bomber
is the coolest small ship in Star Wars anyway.
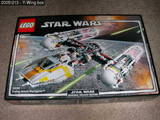
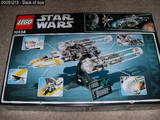
The box contains 1473 pieces but no mini-figures, which is just fine. Here are the contents: instructions, sticker sheet, and all the pieces in the usual plastic baggies, with my usual complaint of the bags being filled in no logical pattern except maybe piece size. 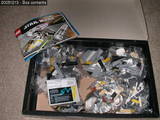
The LEGO Y-Wing, like many modern LEGO creations,
contains a number of specialised pieces.
This isn't so bad though, because many of them are blocks.
The sensor (or whatever) domes on the front
of the engine can't be helped,
but it would have been nice if they were built out of regular bricks.
Here are some of the special pieces that could have easily been
regular pieces:
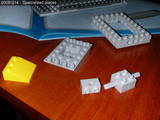
The triple-stud yellow piece: could have been a double-stud and a single-stud. The sloped bit in the middle: could have been two-stud sloped pieces, quantity 4, and two-stud bricks, quantity two. The rectangle in the background could have been built out of simple Technic pieces: 6-stud length, quantity 4. The holes are not critical. The two-stud plus-hole bit in the foreground; okay, I'll give them that. The assembly in the bottom right is built out of two of those. It holds the engine struts so it need to be non-rotating. Of course I don't know what all these pieces are called. I'm sure LEGO or LUGNET have standard ways of describing pieces, but I don't know them. So I improvise. Here's a picture of the Y-wing pieces in the box, loose, with some of the tiny bits ("greeblies"?) still in the bags. Follow that link, you know you want to. Here are some tedious pictures of the engine pods. 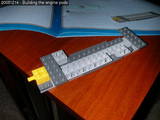
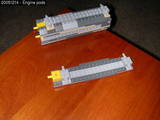
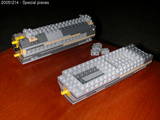
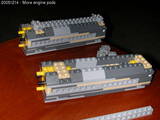
In these pictures, we see how the engine sections are built up -- part of the legs of the Y. And we see some of those pesky pieces that shouldn't exist, like the extra-long top-slope pieces visile in the fourth picture. why aren't the bottom-slopes (see first picture) also in an extra-long version? And why are the rectangular Technic-like pieces as they are (third picture), they're not even visible at the end! This Y-Wing model is built out of the following sections:
The tops of the main body, the engines, and the wing struts are decorated with greeblies to provide detail.
The LEGO Y-Wing is bult up in sections, as I've said before.
Here's a picture of some of the sections:
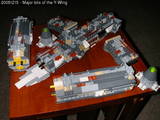
You can see the main body in the middle, the engine pods on the left and bottom, the wing struts (for lack of a better term) on either side of the main body, and the nozzles. The engines and struts are identical, not bilaterally symmetrical like you'd expect. That is, there isn't a "left engine" and a "right engine", it could go either way. Later on in the build process detail pieces are added that do make them non-identical. Here's what I'm talking about: 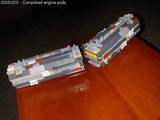
The engines are sitting back-to-back in that picture. You can see from the position of the white bits on the side that they're not identical any more.
Building the main parts of the LEGO Y-Wing's body is
tedious work, but the engine strut-work is
something different.
First we build the back end:
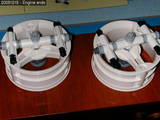
Then we build the rest out of long technic axles covered with a unique round sheath. Since there are two engines, each engine has four struts and each strut is three Technic axles long, we need twenty-four axle pieces. The instructions show how to build one strut and multiply that by four to build one engine and multiply that by two, but I built all eight struts at once. Here are some of the bits used — the bag contains the sheaths: 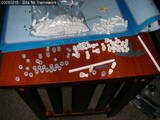
Each strut is three axles and the sheaths are pushed onto it. That was the hardest part. At various intervals we have the connecting pieces and some tee-pieces to attach the struts to the engine: 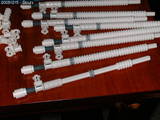
Here are all eight struts and the completed framework. It attaches to the engine at eight points using the tee-shaped pieces, four of which are clearly visible half-way along the vertical one: 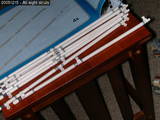
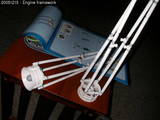
The LEGO Y-Wing's Y-legs consist of, from front to back,
In previous posts we saw the construction of the engines struts, nozzles, etc. All that's left here are the sensor domes and mounts. That's what I call them because I don't know what they really are, and I'm too lazy to go look it up. I'd have to change what I called them everywhere. The sensor dome, dome mounts, and main engine fit together with Technic pins. The nozzle attaches to the engine with a 90-degree-shifted stud area. The struts, as seen before, attach at eight points using Technic technology. Here are the dome mounts, with tilting plates for the detailing. The domes are made entirely of standard pieces. Bricks, flats, no-stud flats, Technic (holed bricks), but all standard. Except the dome itself, which by the way, attaches on a hinge. 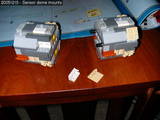
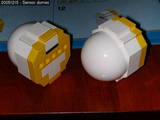
Here are the detail pieces that attach to the tilting plates on the dome mount. They also bump the parts count. The other picture shows how everything comes together. 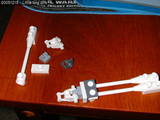
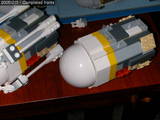
The completed engines are shown here. Notice the Technic-pin mounting on the left. You can also see the places where the struts are going to be mounted. The Technic-style holes along the side are for connection to the wing roots. 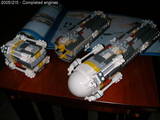
And finally, the completed Y-legs. You get a sense of scale from my thumb there. 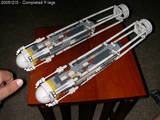
The Y-Wing is complete:
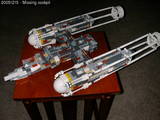
But wait, where's the cockpit? Well, there are still some parts left, and we get: 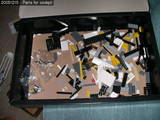 =>
=>
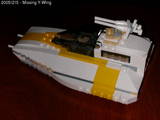
The remaining parts include a stand as well. So here's the complete LEGO Star Wars Y-Wing: 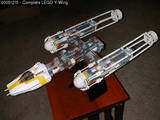
Of course, all the pictures are in my picture gallery — including full-size ones. |
|