Satya's blog - models/swxwing/
Tofu gave me an
X-Wing model and then I went and bought another. This is my third X-wing now.
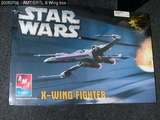
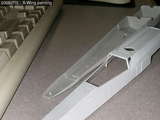
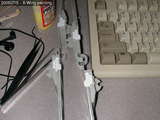
This is a ca.2005 re-release of the AMT/ERTL kit that Tofu gave me. This one does not include paint, is molded in gray, and has different box art. It also includes a 5"x7" "poster", which isn't much more than a postcard. I was going to use airbrushes on this one, but I talked myself into spray cans instead. They're slightly cheaper, but cause a lot more overspray. Here are pictures of the engine pods and random engine parts: 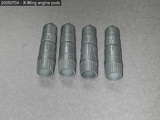
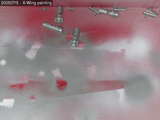
(Notice the overspray in the second picture.) As always, the pictures are linked to larger-sized versions. The picture gallery is at http://www.thesatya.com/albums/models/starwars/xwingamtse/ and more pictures and commentary will be added... whenever. Last updated: Jan 22 2006 12:55
Thanks to
Swanny's models,
I learned how to (and that it was even possible, and a done thing)
mask a canopy in order to paint the support struts.
Canopies aren't just a big plastic or glass thing, they have non-transparent
supports.
So I put masking tape on the X-Wing canopy. Like Swanny says, you put the tape and then score with a knife along the edge, so that you can tear off the excess. 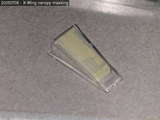
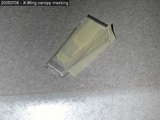
Then you hit it with spray paint, let it dry, and peel off the tape. 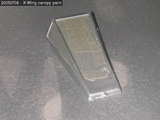
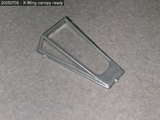
Last updated: Jan 22 2006 12:56
The four wings of the X-Wing fighter model have 2 decals each to represent
the stripes and L-shaped area.
After the sucecss with the canopy, I decided to
try painting the stripes instead of using decals.
The wings had already been hit with a coat of white at this point. I should have sprayed them red first, then masked off the stripe area and sparyed on the final white coat. So I ignored the white I'd already done, and just hit it with flat red on the wing surfaces that have stripes. Then I pasted on the masking tape and drew pencil lines where I thought the edges would go. Then I cut along the pencil lines and peeled off the excess tape. It looked crude, but if you squint at it, it looks pretty good. 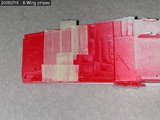
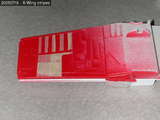
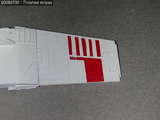
Then I sprayed on the final white coat. The stripes became almost invisible, but on removing the masking tape I got nice red stripes! There was a little bleed from the white paint, though, and I didn't cut the lines as straight as I should have. 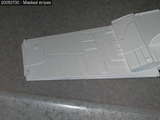
Last updated: Jan 22 2006 12:57
The engines were sprayed a metallic silver to give it a steel look.
Swanny
says I should paint the engine exhausts with Gunze Burnt Iron.
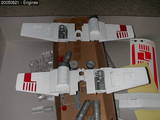
These parts are going to be 'inside' the wings when they're closed. Last updated: Jan 22 2006 12:57
While the X-Wing's wing decoration was done with masking tape,
I got lazy and did the stripe down each side with a decal.
Each stripe was cut into three pieces for easy application.
They have to be lined up right so that the final look is seam-less.
Here two of the pieces have been applied:
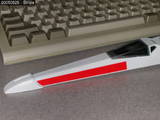
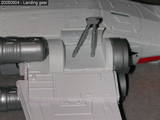
Here are the larger parts ready for assembly. The wings were glued to the body but the glue broke apart after I put together the top and bottom halves. The wings rotate within the housing, but it's fine as long as the model sits statically on its landing gear. 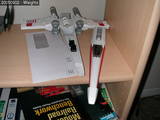
Last updated: Jan 22 2006 12:55
According to the dates on the pictures,
the AMT/ERTL X-Wing ("special edition" according to me)
was started July 2005 and finished in September.
These blog entries are being done in October. Sigh.
Anyway, here's the finished product: 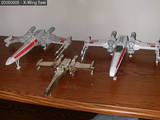
This is my X-Wing fleet. I bought the gold one in 2002, and Christopher gave me the one on the left several months ago. This one is on the right. The laser pods have been painted red, too. More clearly seen in this picture: 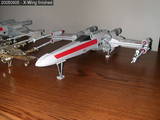
As always, click on the pictures to get the full-size images. Last updated: Jan 22 2006 12:58 |
|
