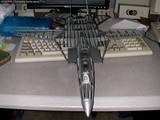
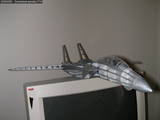
Satya's blog - models/f14guillow/
The Guillow Tomcat's cockpit area is a flat, black
base on which the tops of the instrument clusters and seats are mounted.
The canopy is a clear plasti piece about 3 inches long.
Following Swanny's canopy masking tips, but not to the letter, I applied masking tape to the canopy and cut away the area covering the "struts". I did a pretty sloppy job of that -- too much tape, un-sharp knife -- and so when I sprayed the paint and removed the tape, I got this: 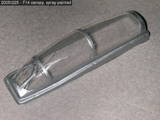
The seats are so small that I had to smear wood glue on them before cutting them from the balsa templates. That's why there's a yellow tinge in the pictures. After the four pieces of each seat were glued together, I painted them black with a paint pen. 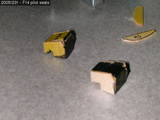
Last updated: Jan 22 2006 09:56
The Guillow F14's fuselage is composed mostly of 1/18th inch square "stringers",
which are pretty easy to lay except along some of
the curvier areas.
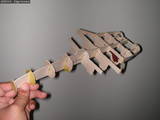
Here's a picture of them sticking out the nose like little laser guns:
F14 stringer picture
And here's the whole body: 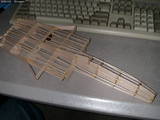
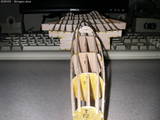
Hmm, that second picture looks like certain bridge skeletons. It's not quite completed, as the area just forward of the wing roots is to be done last.
We come to October and the F14's fuselage is yet to be built.
The fuselage formers are glued in place
using a right-angled piece of wood to maintain perpendicularity.
A paper clip makes a handy prop:
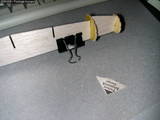
Once all the formers down the central one are done, a few side-formers are added and the stringing can begin. 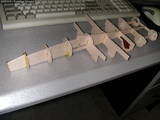
Last updated: Jan 22 2006 09:54
The balsa F14 stabilisers and rudders were pinned to the plan and built. They're
just flat bits.
Then I made a mistake.
I added the parts R4 to the stabilisers like this:
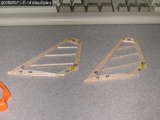
But they're meant for the rudders! By the time I realised this the R4s has bonded to the stabilisers. So I traced them onto some spare balsa sheet cut them out, and sanded them to shape. Then I sanded off the incorrect R4s from the stabilisers and glued the new ones to the rudders. 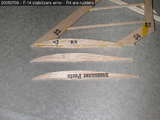
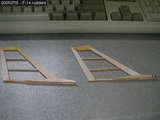
Notice that the rudders are "pointy" in "front" while the stabilisers have an extra angle at the "back". Last updated: Jan 22 2006 09:56
This was done in July but it's taken until now to post the blog entries.
Here we see a wing frame pinned to the plan. The ribs will be glued right onto the frame. The F14 has variable geometry, i.e. its wings can extend or fold close to the body to give a V-ish shape, So there are two versions of the wings. This is for extended, low-speed flight. The wings will stick straight out from the body. All four wings can be built from the materials provided. They can be changed out on the display model. 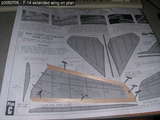
Here are the completed wings. The yellow spots are from the glue. The rib nearest the body is scored and bent at the score. 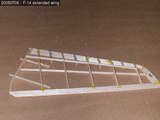
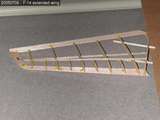
Last updated: Jan 22 2006 09:55
After cutting the parts from the balsa wood planks,
they were supposed to be pinned to this template.
Then notches were to be cut at the places indicated.
The notches are for the one-sixteenth inch square struts or stringers.
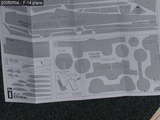
I simply held each piece in the right position and marked the 'vertical' edges of the notch. The 'horizontal' edge had already been stamped into the wood, setting the notch 'depth'. Then each pencil mark had to be laboriously sawed with a hobby knife. Here are the wing formers. This kit allows you to build two sets of wings. One set is the extended version and the other is the swept-back version. The F-14 Tomcat has variable-geometry wings. (The Robotech Valkyries are described as F-14s on steroids.) 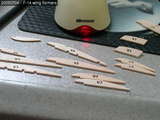
The picture shows the notches being cut -- compare the two pieces in the middle marked W5. Last updated: Jan 22 2006 09:53
I figured an F-14 Tomcat balsa model might be fun.
I've built a balsa wood P51 Mustang before. This one is smaller
and won't be able to fly (who puts jet engines in a wooden model?).
The smaller scale means I have to be more careful
as there is less room for error.
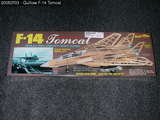
This model can be built as shown on the box, or covered with tissue and painted to resemble the real thing. Like all the Guillow kits, this one comes with these wood templates. Many of the parts are stamped on the templates but some of the small ones are just drawn on. You have to cut them yourself. 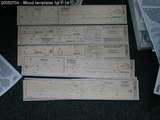
Last updated: Jan 22 2006 09:53 |
|
